If you’ve never tried it before, chain maille is definitely a technique worth having a go at. It is amazing how a few jump rings, put together in the right way, can create such intricate patterns.
Chain maille: a flexible material composed of small interlocking metal rings or links of chain.
Its original purpose was in armour, offering a combination of protection and flexibility. This became obsolete around 15th century, due to changing methods of war, although it can be seen decoratively after that point and the British Territorial Army still use maille epaulettes as a status symbol. The use of chain mail in jewellery has increased over recent years, with a huge variety of weaves developed.
I find creating chain maille very relaxing, I love trying different weaves, and finding new ways of incorporating them into designs.
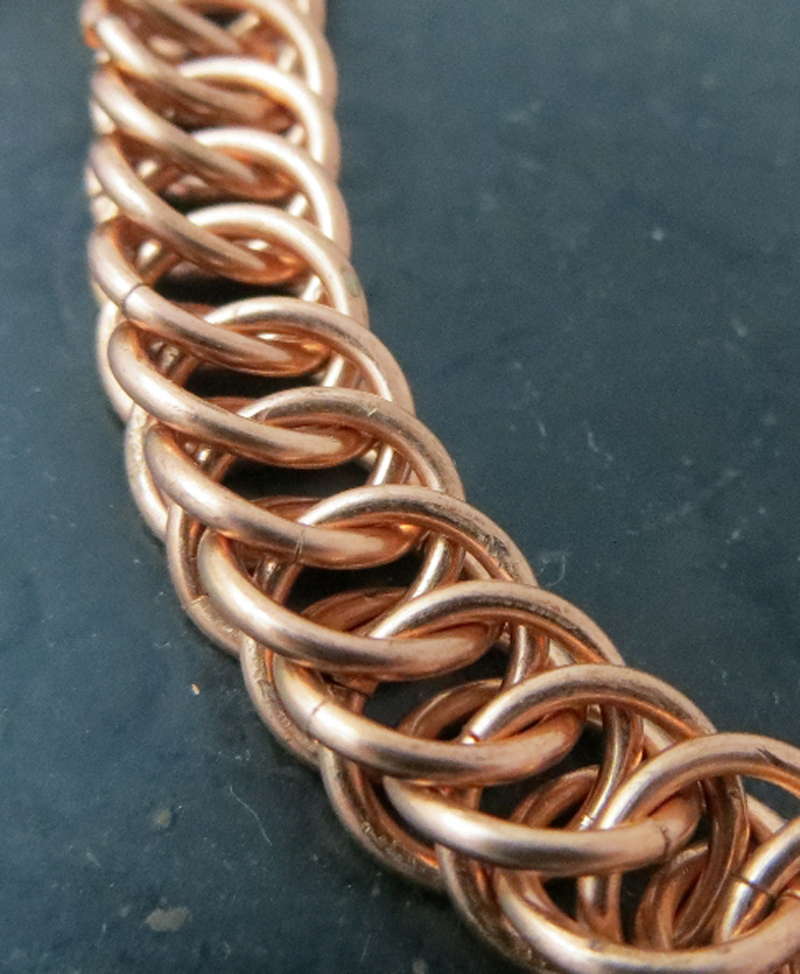
Here’s one of my current favourites – the Barrel Weave, which is both simple to create and looks great. Watch now, or scroll down for further chain maille info.
Materials and Tools
Aside from findings such as clasps, you only need jump rings in order to make maille. When buying, you ideally want to be looking for saw-cut rings, as the ends meet flush, making the join almost invisible. You can buy rings ready-made, but I tend to make my own, coiling wire onto a mandrel, then using coil-cutting pliers and a jewellers saw to cut the rings. This way, I always have the size(s) of ring I need to make a particular weave.
For making the chain maille, I recommend using two pairs of flat or chain nose pliers for opening and closing the jump rings.
AR vs WD vs ID
If you look at maille instructions, you will most likely find some combination of the above letters. They stand for:
WD: Wire Diameter (the thickness of the wire used to make the jump rings)
ID: internal diameter (the diameter of the hole in the jump ring, and also the mandrel used to make them)
AR: Aspect Ratio (the ratio of the internal diameter to the wire diameter)

The Aspect Ratio is often a source of confusion, but is important as this will determine how many rings can get through the centre of the jump ring. If the AR is too small, the weave will be too tight, and may be impossible to achieve. A large AR could mean the weave is too loose and could collapse, not holding its intended pattern.
I most often use 1 mm diameter wire for my jump rings, so dividing by 1 means the AR and the ID will be the same. But let’s use a slightly more complicated example, let’s say that I’m going to make my rings from 1.5 mm wire. The weave I want to do has an ideal AR of 3.5 and a min AR of 3.2. No maximum AR was quoted. I need to work out the internal diameter of the jump rings to use.
The ideal size would be AR x WD = 3.5 x 1.5 = 5.25 mm
The minimum size would be AR x WD = 3.2 x 1.5 = 4.8 mm
So if I make my jump rings on a 5mm mandrill, I know I’ll be fine, with a larger mandrel producing a looser weave.
Weaves to Try
There is a vast array of weaves in existence, and many maillers out there inventing new ones. If you want to find and try a new weave, I recommend M.A.I.L (Maille Artisans International League), which is jam-packed with categorised lists, pictures and illustrated instructions.
If you’re new to chain maille, I’d recommend the Byzantine Weave and the Box Weave as great starting points. I’d then suggest moving on to the half Persian 3in1 or 4in1. They can be a little tricky to start, but then grow easily. And don’t forget to check out the Vertebrae Weave in my video!
Have fun mailling!